
Solar power offers a clean and renewable energy source that can cut electricity bills and reduce your carbon footprint. Installing solar panels can seem daunting, but with the right knowledge and steps, it’s a manageable process. This guide will walk you through the essential stages of solar panel installation, including preparation, equipment selection, the actual installation steps, and subsequent maintenance. Whether you’re a DIY enthusiast or planning to hire professionals, understanding each step ensures you make informed decisions and get the most from your solar investment.
Preparing for Solar Panel Installation
Assessing Your Energy Needs
Before diving into the hardware, it’s crucial to understand your household’s energy consumption. Check your utility bills to determine your average monthly electricity usage in kilowatt-hours (kWh). This data will help you calculate how many solar panels you need to meet your energy requirements. Consider seasonal variations and possible future increases in energy use, such as adding new appliances or electric vehicles.
Evaluating Your Property’s Solar Potential
Next, evaluate your property to ensure it’s suitable for solar panel installation. Start by examining your roof’s orientation, angle, and size. Ideally, your roof should face south to capture the most sunlight, although east or west-facing roofs can also work with more panels. Assess for any shading from trees, buildings, or other obstructions that could affect solar exposure. If your roof isn’t ideal, ground-mounted systems are also an option. Professional solar installers can perform a detailed site assessment using tools like solar pathfinders to measure potential solar gain.
Choosing the Right Solar Equipment
Selecting the Best Solar Panels
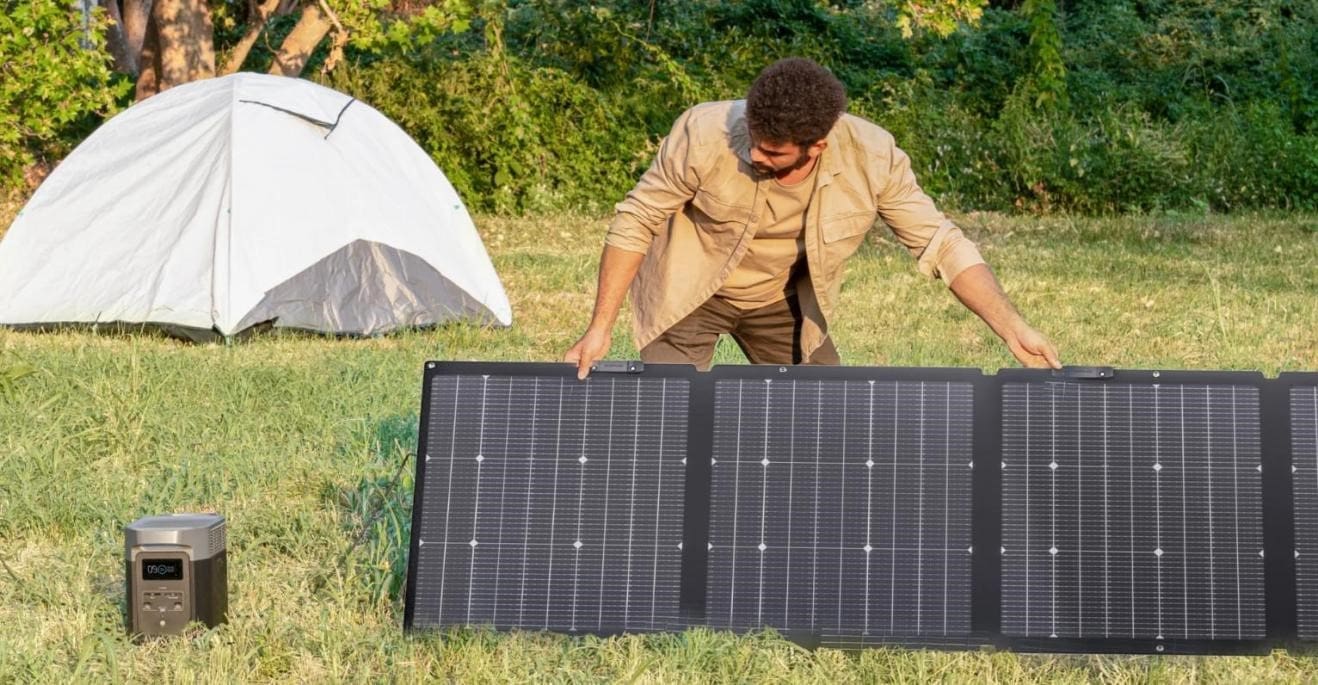
Solar panels come in various types, each with its pros and cons. Monocrystalline panels are efficient and space-saving but more expensive, while polycrystalline panels are more affordable but slightly less efficient. EcoFlow’s solar panels, featuring high-efficiency monocrystalline cells, offer durability and seamless integration with portable power stations for reliable backup power. When choosing panels, consider efficiency, warranty, and budget, opting for a high energy output and at least a 25-year warranty for long-term performance.
Picking Inverters and Mounting Systems
Inverters convert the DC electricity generated by your panels into AC electricity your home can use. There are three main types: string inverters, microinverters, and power optimizers. String inverters are cost-effective for simple systems, microinverters offer optimization at the panel level, and power optimizers combine both approaches. Consider your roof’s layout, shading, and budget when choosing. For mounting systems, select one compatible with your roof type. Proper mounting ensures stability and durability over time.
Step-by-Step Solar Panel Installation
Site Preparation and Safety Measures
Begin by creating a safe working environment. Wear appropriate safety gear, including gloves, helmets, and harnesses if working at heights. Shut off the power supply to the installation area and remove any debris. Secure ladders and tools properly. Double-check local regulations and building codes to ensure compliance before starting any work. Safety comes first.
Installing Mounting Systems Properly
Follow your manufacturer’s instructions to install the mounting system. For roof installations, attach mounts to roof rafters using lag bolts. Ensure they’re evenly spaced and aligned with your panel configuration. Use a level to maintain accuracy, and apply flashing to prevent leaks. Ground-mounted systems require digging post holes, setting posts in concrete, and attaching rails.
Securing Solar Panels and Making Electrical Connections
Once mounts are secure, attach the solar panels to the mounting rails. Tighten clamps or bolts to fix panels in place. Connect panels together using the supplied wiring, ensuring all connections are tight and weatherproof. Route wires to the inverter and connect according to the manufacturer’s instructions. Once panels and inverter are connected, link the inverter to your home’s electrical system. A licensed electrician should perform this step to ensure safety and compliance with electrical codes.
Maintaining and Monitoring Solar Panels
Regular Cleaning and Inspection
To keep your system efficient, clean panels regularly to remove dirt, dust, and debris that can reduce output. Use a soft brush and water, avoiding harsh chemicals that can damage panels. Inspect the system periodically for any signs of wear, loose mounting hardware, or damaged wiring. Schedule professional inspections every few years to catch potential issues early.
Troubleshooting Common Solar Panel Issues
Common issues include decreased output, inverter errors, or shading problems. Monitor your system’s performance via the inverter or dedicated monitoring software. If you notice a dip in energy production, check for obstructions or panel damage. For inverter faults, consult the troubleshooting guide or contact the manufacturer. Ensure there are no shading issues caused by new objects like tree growth or new buildings.
Conclusion
Installing solar panels can seem complex, but breaking it down into manageable steps makes the process straightforward. By understanding your energy needs, evaluating your property, carefully selecting equipment, following correct installation procedures, and maintaining your system, you can enjoy the benefits of solar energy for years to come. Investing time in planning and proper installation ensures your solar setup is safe, efficient, and durable.